 Lavare Journal
Understand the water evaporation and crystalline restructuring that turns fresh castile paste into a mild bar. You will learn to evaluate soap hardness, lather density, and maturity before bringing bars to water.

- Evaporating moisture increases bar hardness and extends working lifespan in the bath.
- Crystalline soap salts reorganize during curing to yield a tighter, less slimy lather.
- Cured high-oleate soap becomes significantly gentler on human lipid membranes.
When we pull a heavy block of olive oil soap from its wooden mold after forty-eight hours, the block feels deceptively complete. The surface is cool to the touch, carrying the pale green tint of unrefined pomace or extra-virgin pressing, and the pH strips tell us that the free sodium hydroxide has already reacted. Yet if we were to cut this block and bring a slice to the washbasin that afternoon, the bar would dissolve into a thick, ropey slime after two hand washes. It would melt in the dish, leave an oily smear across the porcelain, and vanish within a week.
Patience in soapmaking is not an aesthetic indulgence; it is a physical requirement dictated by fatty acid chemistry. Olive oil soaps, historically known as Castile or Marseille soaps depending on their exact regional proportions, require a full six weeks on slatted shelves before they earn their place by a tap. That six-week window is the minimum period required for the internal water to escape in an orderly progression and for the soap molecules to settle into stable, insoluble crystal structures. To understand the necessity of this wait, we must observe what happens at the molecular level long after the chemical heat of the initial reaction has cooled.
The Chemistry of Oleic Acid Saponification
Every vegetable oil brings a distinct profile of fatty acids to the saponification vessel. Coconut oil delivers short, saturated chains of lauric and myristic acids that bond with sodium ions rapidly and form rigid, rock-hard blocks within twenty-four hours. Olive oil behaves in the opposite manner. Between 71% and 82% of the fatty acid content in typical olive oil consists of oleic acid, an eighteen-carbon monounsaturated chain with a structural bend at its ninth carbon atom.
This molecular kink prevents the resulting sodium oleate molecules from stacking together neatly in the early hours of saponification. While a saturated stearate molecule lies straight and packs like dry firewood, sodium oleate molecules twist against one another. Even after the lye solution has fully neutralized the fatty acids, the molecular matrix remains loose, trapping substantial quantities of water within pockets between the crooked chains. The result is a soft, gelatinous mass that lacks structural cohesion.
As the soap rests on the curing rack, these sodium oleate molecules undergo a slow, continuous reorientation. They gradually shift from an amorphous, disorganized arrangement into a denser, organized crystalline lattice. This crystalline realignment cannot occur in a hurry. If the water exits before these molecules form their bonds, the structure remains fragile; if the water stays trapped, the soap remains pasty. The six-week mark represents the chemical inflection point where the crystalline network of sodium oleate becomes strong enough to withstand running water without collapsing into a loose gel.
Water Loss Versus Active Chemical Curing
Many novice makers mistake curing for simple dehydration. We often hear questions about whether a commercial food dehydrator or an electric dehumidifier can compress the six-week schedule into three or four days. The answer is negative, because drying and curing are two parallel, non-identical processes that must proceed in balance.
Dehydration is purely physical: moisture moves from the damp core of the bar to the drier exterior face and evaporates into the surrounding air. If we force this process with warm air currents, the surface layers contract rapidly, forming a hard, dense skin across the exterior while the interior core stays saturated. This phenomenon, known as case hardening, traps the inner moisture permanently. The bar may feel firm between your fingers, but the moment the user wears down that thin outer shell, the bar collapses into mush.
Active curing, by contrast, is the slow progression of crystalline rearrangement and equilibrium. It requires the gentle presence of residual water to facilitate the migration of salts and the continuous bonding of soap crystals. During these six weeks, the bar also absorbs trace amounts of atmospheric carbon dioxide, which reacts with any microscopic remnants of unreacted alkali on the surface to produce harmless sodium carbonate. Rushing this equilibrium compromises the structural integrity of the bar for its entire lifespan.
| Process Factor | Forced Rapid Drying | Traditional Six-Week Curing |
|---|---|---|
| Lattice Organization | Disordered, fractured structure | Continuous, stable crystalline matrix |
| Core Moisture | Trapped liquid core behind hardened crust | Uniform moisture gradient throughout bar |
| Wash-off Resistance | Low; dissolves rapidly once pierced | High; wears evenly layer by layer |
| Longevity in Water | Forms thick mucilage quickly | Resists water penetration, dries between uses |
Assessing Bar Hardness and Dry Matter Content
We do not rely on calendar dates alone to judge whether our bars are ready for wrapping or shipping. We track dry matter retention through mass measurement. By tracking a control bar from each batch using an analytical bench scale accurate to 0.1 grams, we can map the exact curve of water evaporation over forty-two days.
A standard 140-gram fresh-cut bar mixed at a water-to-lye ratio of 2.2 to 1 will shed between 16% and 22% of its total cut weight across six weeks, depending on ambient relative humidity. During the first seven days, the mass falls steeply as the unbound water near the exterior flashes off. By day twenty-one, the rate of loss flattens into a gentle slope. When the bar records less than 0.3 grams of mass fluctuation across seven consecutive days in a controlled environment, the bar has reached water equilibrium with the surrounding atmosphere.
Alongside weight tracking, we employ two practical tactile tests in the workshop:
- The End-Grain Thumb Press: Apply direct, firm pressure with the flat ball of your thumb to the narrow edge of the bar, perpendicular to the original pour line. A two-week-old bar will yield with an elastic indentation. A fully cured six-week bar will resist completely, showing zero deformation and leaving no oily sheen on your skin.
- The Planed Corner Scraping: Draw a clean cabinet scraper or wood-carving bevel across the corner of the bar. A green bar yields wet, gummy curls that clump together. A mature bar yields crisp, waxy shavings that flutter apart like paraffin shavings.
Lather Evolution from Fresh Cut to Twelve Months
The lather profile of olive oil soap changes dramatically over time. Sodium oleate generates lather with distinctive physical properties: small, dense bubbles with minimal foam volume, resembling rich cream rather than the towering, airy suds created by coconut or babassu oils. However, in an immature bar, that lather is masked by unorganized, highly soluble soap fragments that produce a slippery mucilage often described as snotty or slimy.
As the weeks turn into months, the solubility of the bar drops significantly. The water can only dissolve the surface molecules that are presented directly to the hands, rather than dissolving half an inch into the bar face. This transformation yields a rich, dense lather that cushions the skin without turning the soap dish into a pool of sludge.
| Cure Age | Lather Character | Tactile Quality on Skin | Soap Dish Residue |
|---|---|---|---|
| 48 Hours | Zero foam; heavy, stringy mucilage | Greasy, difficult to rinse away cleanly | Dissolves entirely into green jelly |
| 3 Weeks | Slight slipperiness; fragile, loose foam | Rinses reasonably well, soft texture | Softens deeply on the contact point |
| 6 Weeks | Dense, lotion-like micro-lather | Silky glide, rinses clean without drag | Forms a slight skin, dries firm overnight |
| 6 Months | Quick-blooming, tight, creamy foam | Conditioning, low water surface drag | Stays hard, sheds water cleanly |
| 12 Months | Extremely rich, compact, velvet lather | Polished stone feel, dense emollient slip | Impervious to brief standing water |
Building a Well Ventilated Soap Curing Tray
Curing dozens of kilograms of soap requires a racking system that offers structural stability, complete airflow beneath the bars, and non-reactive contact points. Bare aluminum or cheap galvanized mesh must never touch curing soap; the residual salts and alkalinity will react with the metal, resulting in dark zinc corrosion and catastrophic oxidation known as dreaded orange spots.
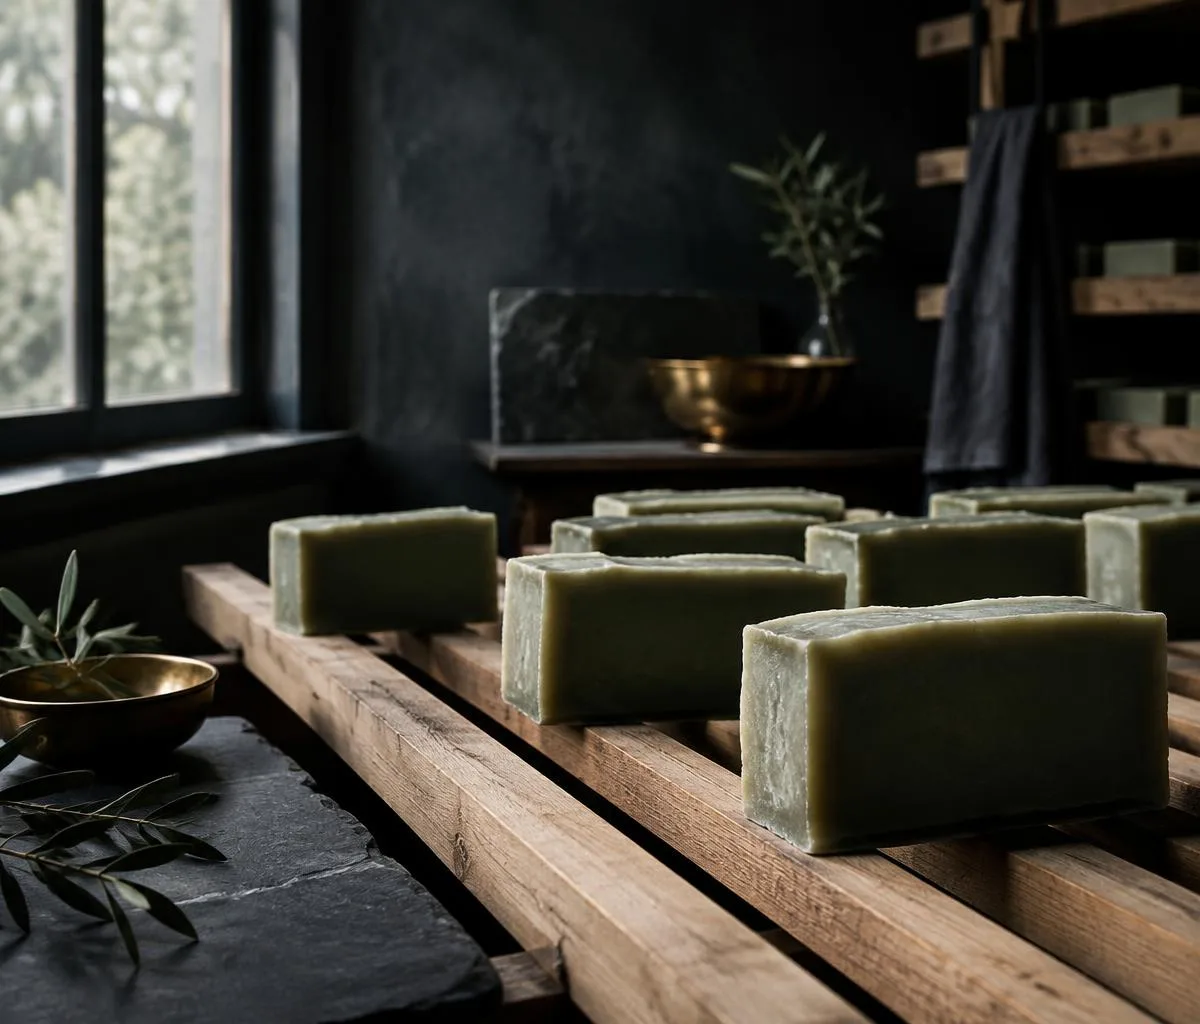
We construct our workshop drying frames from untreated clear white pine and unbleached cotton sash cord. Pine is lightweight, absorbs small amounts of excess humidity without warping, and emits no volatile aromatic oils that might alter the soap's scent. Follow these construction actions to build a standard stackable curing flat measuring 600 millimeters by 450 millimeters.
Selecting and Cutting the Timber
Dimension four lengths of clear pine per tray: two long rails at 600 millimeters by 45 millimeters by 20 millimeters, and two short rails at 410 millimeters by 45 millimeters by 20 millimeters. Cut four corner corner-riser blocks from 35-millimeter square stock, cut to 70 millimeters in length. These blocks allow the trays to stack vertically while preserving a 25-millimeter clear air space between tiers.
Drilling the String Channels
Mark the interior face of the two long rails at intervals of 20 millimeters along their length, positioned 15 millimeters down from the top edge. Using a drill press fitted with an 8-millimeter brad-point bit, bore clean holes through the rails at each mark. Chamfer the hole edges lightly with hand sandpaper to eliminate any sharp splinters that could fray your cord under tension.
Joining the Frame
Fasten the outer frame rails together using waterproof polyvinyl acetate wood glue and two countersunk stainless steel screws at each corner joint. Ensure the frame sits flat against your workbench and pull it square using diagonal corner-to-corner measurements before driving the fasteners home. Secure the four corner-riser blocks to the exterior faces using glue and screws, ensuring their bases extend downward by 25 millimeters to form indexing feet for stacking.
Lacing the Bed
Select unbleached 5-millimeter braided cotton cord or marine-grade polypropylene twine. Anchor one end securely to an external brass screw on the left rail, then lace the cord continuously back and forth through the drilled channels across the width of the frame. Pull the cord taut like a musical instrument string as you progress. Tie off the trailing end with a clove hitch secured by an internal staple. This laced cord base supports the weight of sixteen kilograms of soap while allowing the underside of every bar to breathe as freely as its upper surface.
Common Mistakes
- Trapping Bars in Sealed Boxes: Placing semi-cured bars into cardboard shoe boxes or plastic storage tubs suffocates the batch. Without constant ambient air exchange, evaporating moisture lingers within the container, triggering surface mold or rancidity.
- Relying on High Heat: Positioning electric fan heaters directly facing the racks drives off water too quickly, causing the corners of pure olive bars to crack, cup, and twist out of shape. Keep curing rooms tempered at 18 to 22 degrees Celsius with passive air circulation.
- Exposing Racks to Direct Sunlight: UV radiation breaks down the delicate chlorophyll pigments in fresh olive oil, bleaching the bars to a dull, uneven straw color and accelerating lipid peroxidation on the exposed tops.
- Ignoring Cross-Ventilation: Stacking trays flush against a solid drywall traps dead air along the rear edges. Maintain at least 150 millimeters of clearance between drying racks and nearby walls.
Working with Olive Oil Soaps
When you cut a fresh batch of olive oil soap, transfer the bars to the slatted trays on the same day. Space them consistently with two finger-widths of space between each bar, never letting them lean together. Write the batch number, the oil lot number, and the pour date onto an unvarnished wooden tag hung directly from the frame edge.
Turn the bars once per week during the first three weeks. Rotate each bar ninety degrees onto its side so that the contact surface rests exposed to the air. If you observe any trace of white powder on the surface, wipe it with a dry, coarse linen cloth; this is harmless sodium carbonate and will brush away easily once the bar dries out. When forty-two days have passed, verify the bar against your scale and thumb-press criteria. If the mass has stabilized, your soap is ready for everyday use, but remember that pure olive oil bars do not degrade with age: they simply become denser, gentler, and more resilient with every passing month.
This publication provides educational material care notes: consult a certified dermatologist or public health officer for clinical advice. Disclaimer